I have been considering a move into the crafting business for some time and yesterday I decided to sign up to become a consultant for Close to my Heart, an international company specialising in scrapbooking and cardmaking products.
I have been impressed with the range of quality products available through CTMH, and since I have purchased my new Cricut Explore, I have been looking more at the Cricut cartridges available from the company. I plan to showcase some of the projects I have made with these cartridges in the near future as well.
I welcome any of my New Zealand readers and followers as customers - just click on the link in the right hand sidebar and it will take you directly to my on-line shop.
Fun times ahead!
Sunday, March 29, 2015
Sunday, March 15, 2015
Making a textured background using a stencil
I went to a card making class recently to get some inspiration. One of the cards we made was one where we used a stencil and texture paste to make a textured background.
I was telling a friend about it and she asked for a tutorial so decided to make a short video showing how simple the technique is.
In the video, I used a gel medium to do the background but you can also use any sort of texture paste that will set to a firm pattern.
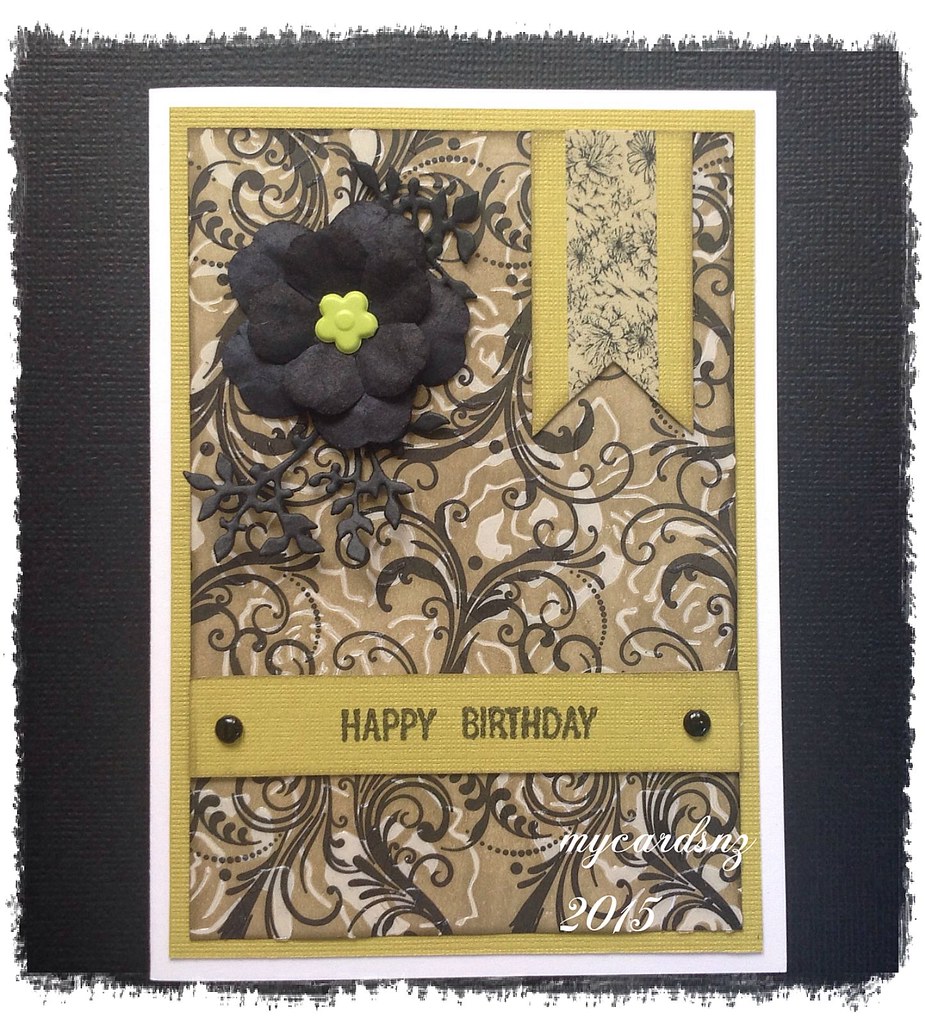
This card background is done with a gel medium on cream and black patterned paper. I also used frayed burlap distress ink to highlight the stencilled background.
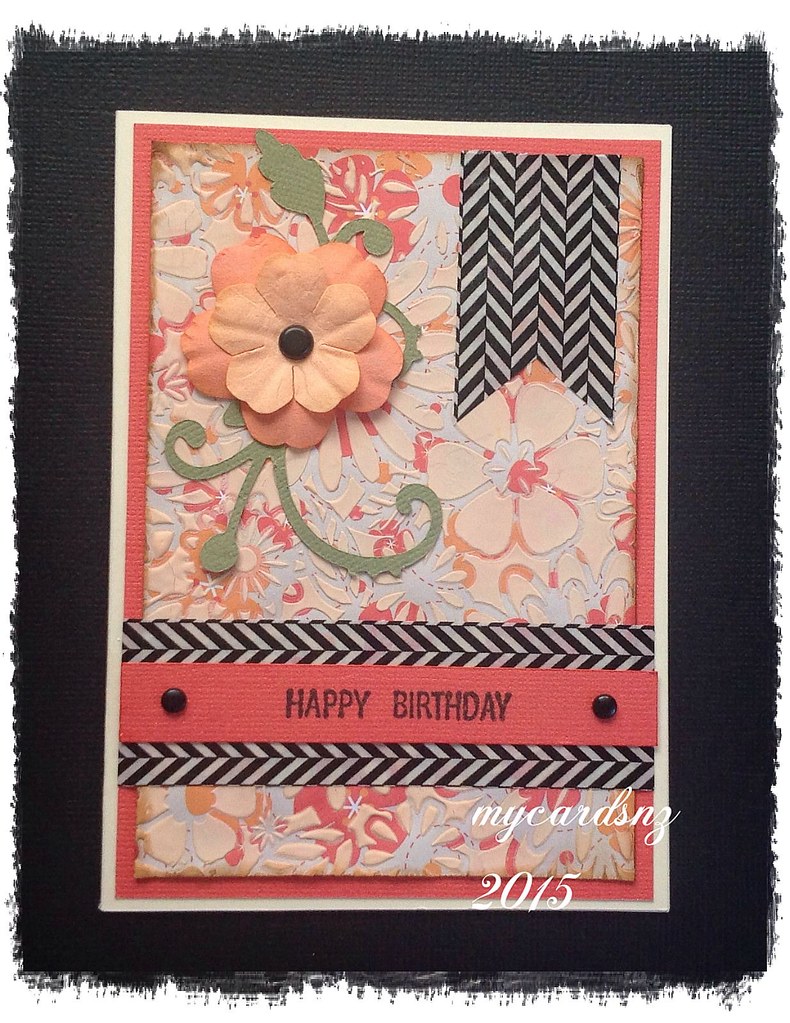
The background on this card was done with home-made texture paste which was slightly coloured with a pinkish toned acrylic paint. Because this paste contains water, it does tend to cause the paper to curl when it dries, so it would be better to use a thicker card for the background.
I also did a bit of research on texture paste and found a recipe for making your own. A number of websites have similar recipes, but the one I used is as follows:
1/4 Cup baby powder
1 tbsp PVA glue
small amount of coloured acrylic paint (can use white or other colour)
Small amount of water.
Put the powder, PVA and paint into a small screw top jar and add the water in small amounts, stirring with a wooden stirrer as you add the water. It should be a thickish paste, fluid enough to be able to spread.
I used a commercially produced stencil for my examples but you could make your own stencils using die cuts or a cutting machine.
- Posted using BlogPress from my iPad
I was telling a friend about it and she asked for a tutorial so decided to make a short video showing how simple the technique is.
In the video, I used a gel medium to do the background but you can also use any sort of texture paste that will set to a firm pattern.
This card background is done with a gel medium on cream and black patterned paper. I also used frayed burlap distress ink to highlight the stencilled background.
The background on this card was done with home-made texture paste which was slightly coloured with a pinkish toned acrylic paint. Because this paste contains water, it does tend to cause the paper to curl when it dries, so it would be better to use a thicker card for the background.
I also did a bit of research on texture paste and found a recipe for making your own. A number of websites have similar recipes, but the one I used is as follows:
1/4 Cup baby powder
1 tbsp PVA glue
small amount of coloured acrylic paint (can use white or other colour)
Small amount of water.
Put the powder, PVA and paint into a small screw top jar and add the water in small amounts, stirring with a wooden stirrer as you add the water. It should be a thickish paste, fluid enough to be able to spread.
I used a commercially produced stencil for my examples but you could make your own stencils using die cuts or a cutting machine.
- Posted using BlogPress from my iPad
Thursday, March 12, 2015
Using Vinyl - first experiments
Since I bought my new Cricut Explore, I have been doing some vinyl cutting. While the Expression cut vinyl quite well, the detail that you can get with the Explore is quite amazing.

I did a couple of birthday gifts for my son and daughter - they share the same birth date. The first - a wine glass, was for my daughter. Quite pleased with the end result, but it is hard to get a straight line to attach to a rounded glass so that it is still straight. Will have to play around with slight curves - maybe Inkscape for designing.
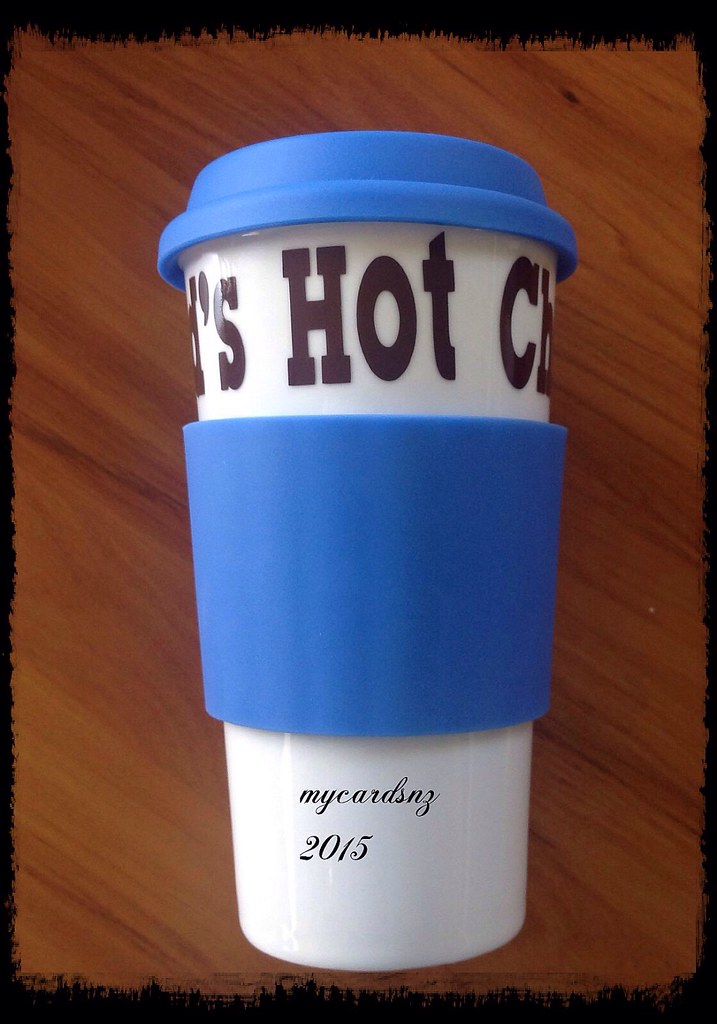
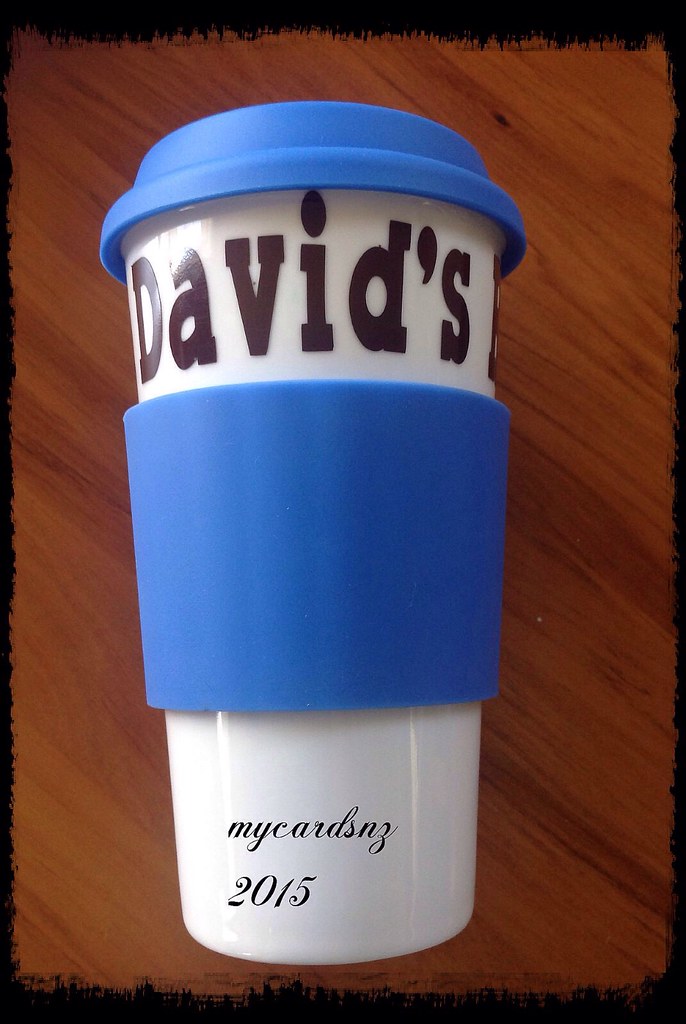 For my son, I picked up a ceramic travel mug and cut out his name and Hot Chocolate, as he drinks that at work. Very pleased with the end results with that one.

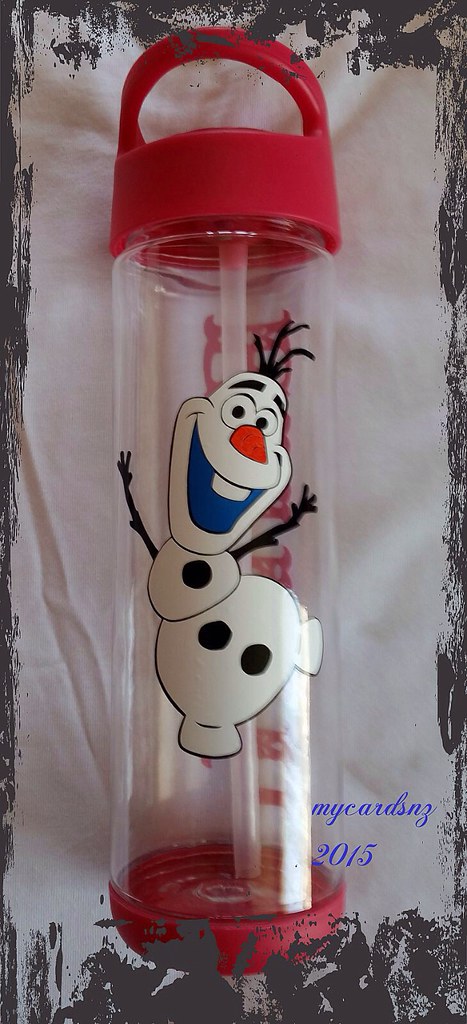 I also did a water bottle for my granddaughter's birthday. Used an image from the Frozen cartridge in Design Space. I had to layer the vinyl to get the image and was quite pleased with the end result. I added her name to the other side of the bottle.
Posted using BlogPress from my iPad
I did a couple of birthday gifts for my son and daughter - they share the same birth date. The first - a wine glass, was for my daughter. Quite pleased with the end result, but it is hard to get a straight line to attach to a rounded glass so that it is still straight. Will have to play around with slight curves - maybe Inkscape for designing.
For my son, I picked up a ceramic travel mug and cut out his name and Hot Chocolate, as he drinks that at work. Very pleased with the end results with that one.I also did a water bottle for my granddaughter's birthday. Used an image from the Frozen cartridge in Design Space. I had to layer the vinyl to get the image and was quite pleased with the end result. I added her name to the other side of the bottle. Posted using BlogPress from my iPad
Location:Avonhead, Christchurch, New Zealand
Subscribe to:
Posts (Atom)